
Last updated November 14, 2026
 Sweep & inspection
 Caps & crowns
 Flue relining
 Masonry repair
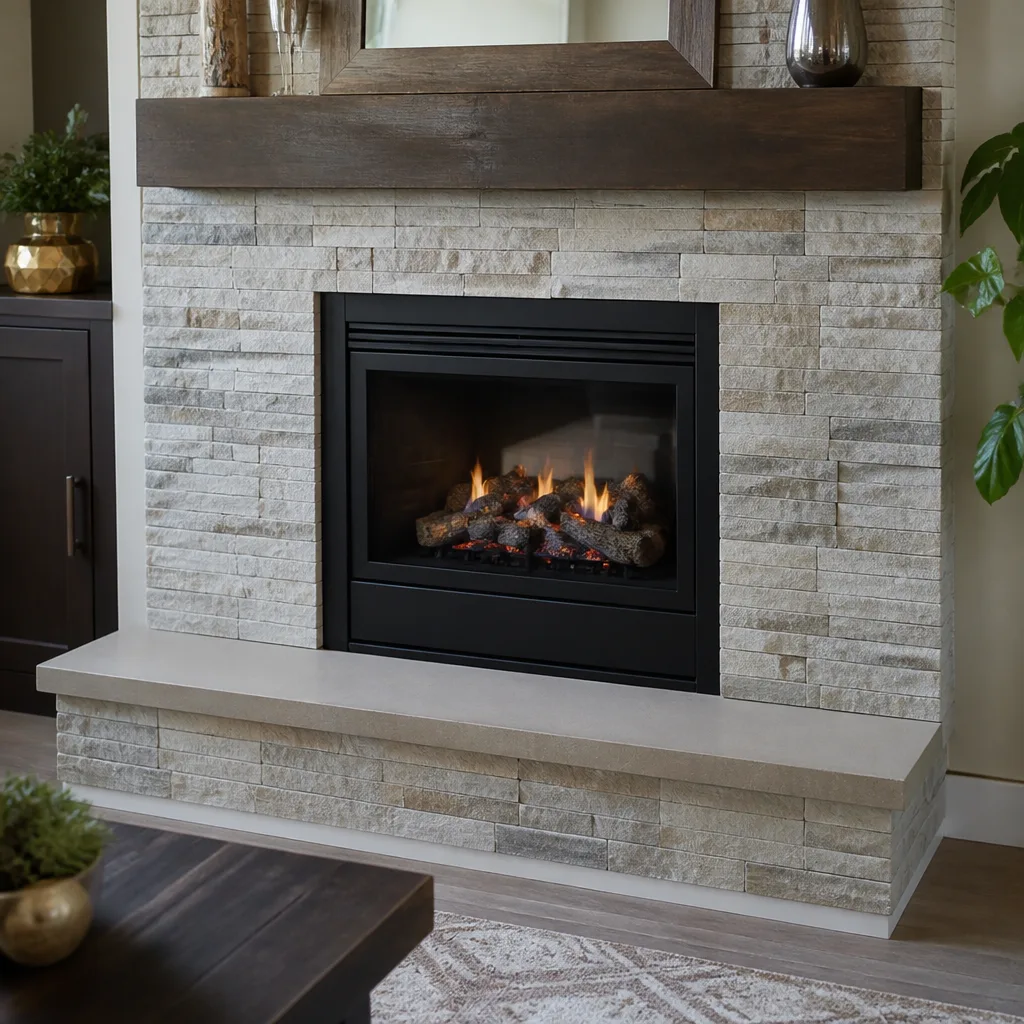 Gas fireplace service
Level 1 sweep and inspection to the NFPA 211 annual standard - flue, crown, cap, and flashing checked and photographed
Chimney sweep logs do not sweep chimneys. They loosen some creosote - which then falls where a brush and vacuum still have to collect it.
Chimney Sweep Maintenance Checklist for Wichita Falls Homeowners
Most chimney checklists tell you to “look for cracks.” That’s like a mechanic telling you to “listen for weird sounds.” It gives you nothing to act on. A cracked crown and a hairline in a firebrick look nothing alike, sit in different places, and mean opposite things for your safety. This guide is different. It’s a list of things to do, sequenced to the North Texas calendar, and written for the specific failure points that show up in Wichita Falls chimneys, from the crown down to the damper. You’ll learn what to check yourself, what damage looks like in its earliest stage, and which findings mean you don’t light the next fire until a trained technician has put a camera up the flue. A blocked or cracked flue doesn’t warn you before it becomes dangerous.
Quick Answer
A Wichita Falls homeowner should sweep the chimney and inspect the flue once a year, ideally in late summer or early fall before the first burn; check the crown, cap, and firebox visually every few months; have the dryer vent cleaned annually; and keep a written service log. Anything beyond a visual check of the firebox and exterior is a job for a trained technician with a camera, not a flashlight and a ladder.
Styles & brands we work with
- Sweep & inspection
- Caps & crowns
- Flue relining
- Masonry repair
- Gas fireplace service
Table of Contents
- Why a Task Checklist Beats a Symptom Checklist
- The Wichita Falls Chimney Calendar, Month by Month
- Spring and Summer: The Quiet Season Work
- Post-Summer Inspection: The One Date That Matters
- Masonry Joints and the Crown: Where North Texas Chimneys Fail First
- The Damper Test Any Homeowner Can Run
- What You Can Safely Check vs. What Requires a Camera
- The Dryer Vent Belongs on This Checklist
- Building a Service Log That Protects You
Why a Task Checklist Beats a Symptom Checklist
Symptoms show up late. By the time you notice smoke rolling into the room or a smell that wasn’t there last season, the problem has usually been building for months. Tasks, on the other hand, happen on a schedule. Do them and you catch problems while they’re small, cheap, and fixable. Skip them and you’re relying on your nose to tell you the flue is failing. That’s not a system. That’s a gamble.
Chimney maintenance in Wichita Falls has a rhythm that’s different from what a national guide will tell you. Our burning season is short and mild, which sounds like good news, but it creates a specific trap: because you don’t burn heavily, you may convince yourself the chimney doesn’t need annual attention. It does. A lightly used flue still accumulates creosote, still weathers, and still needs a camera inspection to confirm the liner is sound. Under-use is not a substitute for maintenance.
We use the word checklist deliberately. Homeowners who work from a list tend to catch the same handful of issues early, over and over, in every neighborhood in Wichita Falls. Homeowners who wait for a symptom tend to catch them after the first cold snap, when something has already gone wrong. The difference between the two groups isn’t luck. It’s sequence.
Here’s the mental model that makes the rest of this guide make sense: treat your chimney like a system with four zones. The firebox and damper at the bottom, the flue and liner in the middle, the crown and cap at the top, and the exterior masonry that ties it all together. Each zone has its own check, its own failure mode, and its own season for attention. Once you see it that way, the checklist writes itself.
The Wichita Falls Chimney Calendar, Month by Month
The right time to think about your chimney in Wichita Falls is not December. It’s August. This calendar spreads the work across the year so that when the first cool evening arrives, your system is already ready.
- January through February: Burn season. Keep an eye on draft, smoke spill, and any new odor. Note anything unusual in your service log.
- March: Last burns of the season. After the final fire, mark the date in your log; that’s your reference point for next year.
- April: Exterior visual check. Look at the crown, the cap, and the masonry from the ground with binoculars. Note any new staining.
- May: Book your sweep and inspection for late summer. This is when the calendar is open and you’re not competing for a slot.
- June through July: Dryer vent cleaning. Get it done while the chimney is quiet.
- August: Post-summer inspection and sweep. This is the date that matters most.
- September: Complete any repair the inspection flagged, before the first fire.
- October through November: First burn of the season. Confirm damper operation and draft before you settle in.
- December: Mid-season visual check of the firebox and a quick look at the termination from outside.
One local note: Wichita Falls gets the occasional ice storm out of a norther that comes down fast. After any ice event, walk outside and look at your chimney from the ground. Ice loading and wind can dislodge a cap or open a joint. Note what you see, and call if anything’s changed.
Spring and Summer: The Quiet Season Work
Spring and summer are when the useful work gets done. The chimney is dormant, the weather is cooperative, and any repair you schedule now has room in the calendar before the first cool evening.
Start with the exterior. From the ground, using binoculars, look at four things:
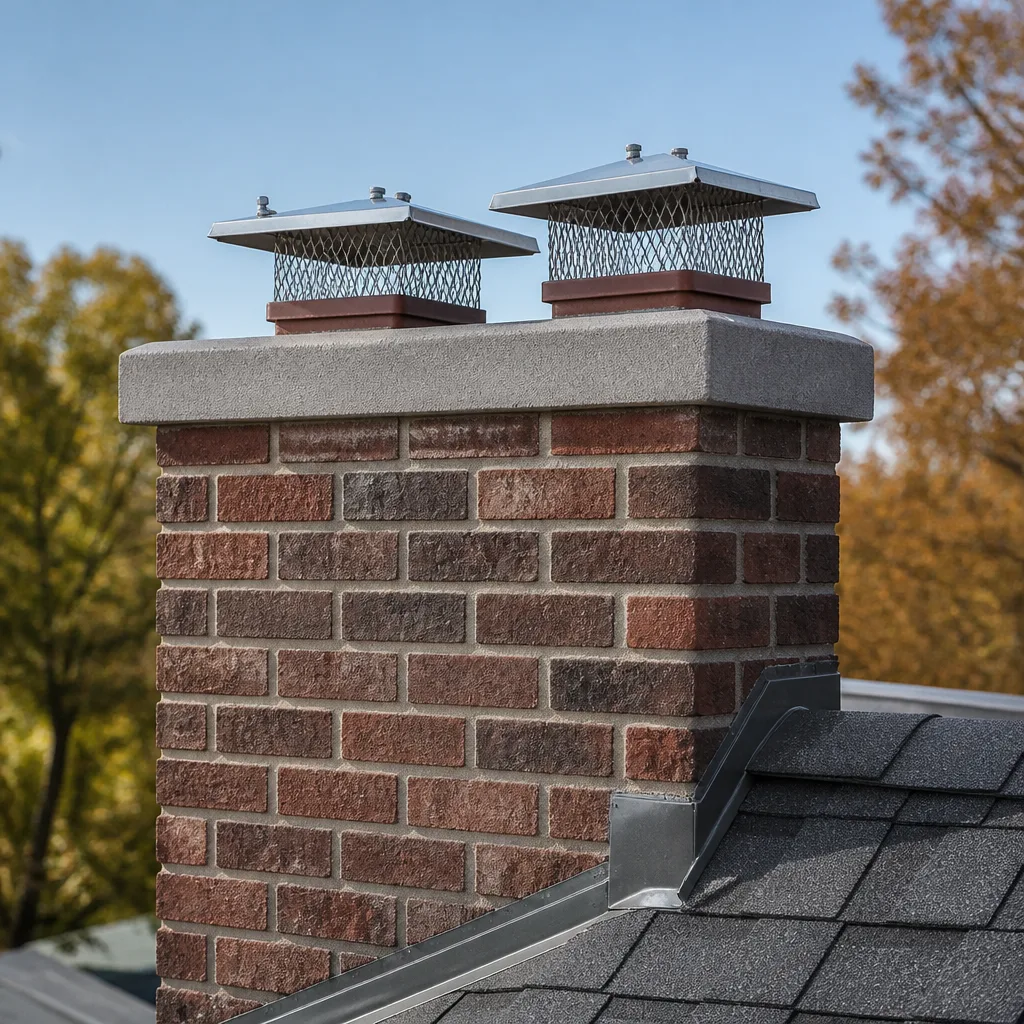
- The cap and spark arrestor. Is it level? Is the screening intact? A cap that’s shifted or rusted through lets water and animals in.
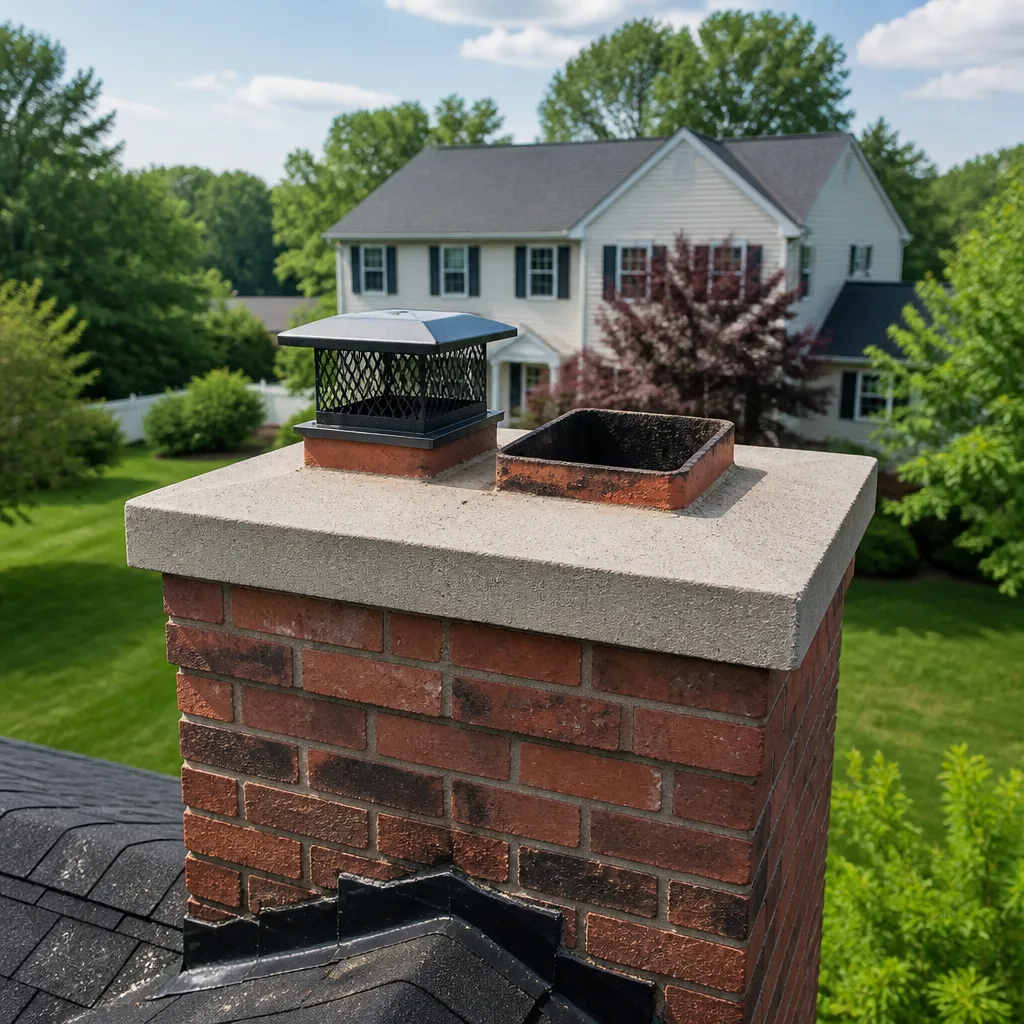
- The crown. This is the sloped concrete top of the chimney. Look for visible cracks, spalling, or a crown that no longer overhangs the masonry.
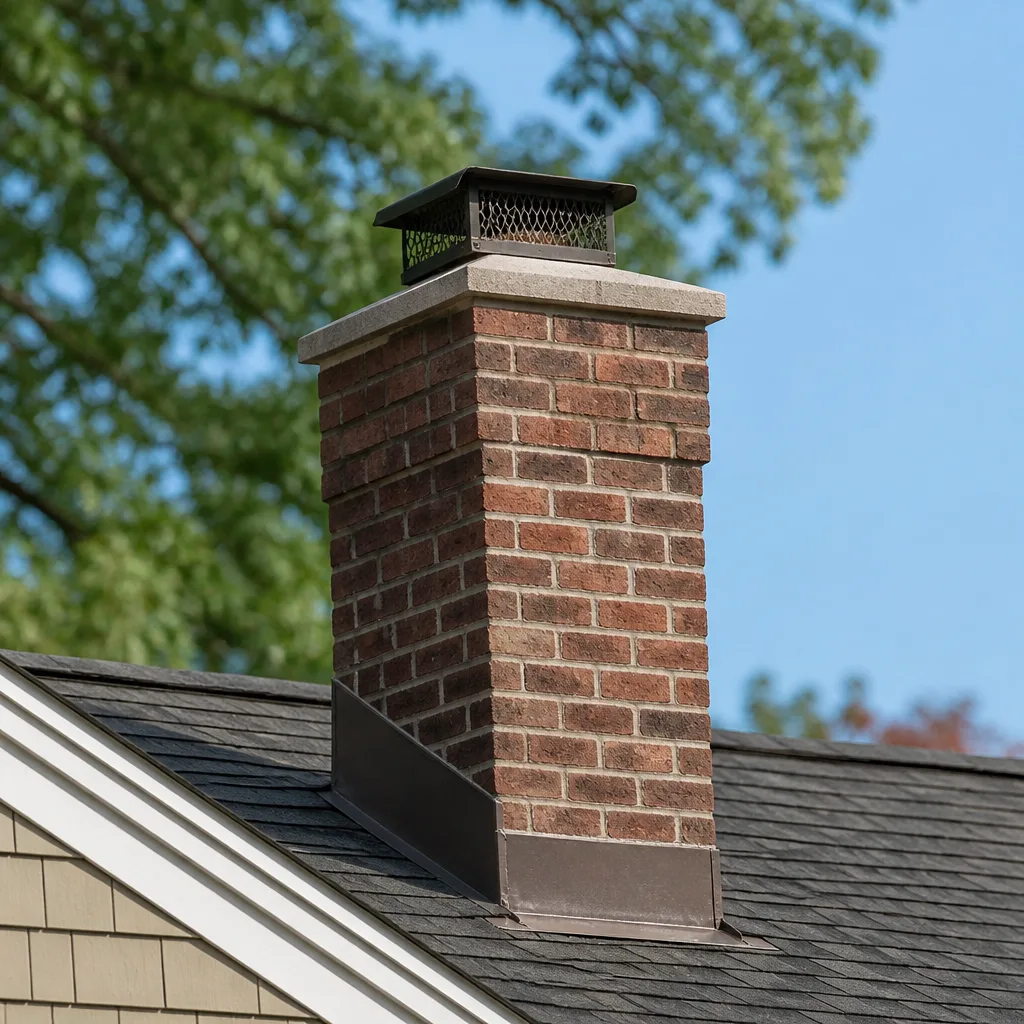
- The masonry below the crown. Look for staining, efflorescence (white powdery deposits), or visible gaps in the mortar joints.
- The flashing at the roofline. Where the chimney meets the roof, the metal flashing should be tight and sealed.
On the interior, open the firebox and inspect the firebrick. Look for cracks wide enough to catch a fingernail, missing mortar in the joints, or brick that’s crumbling. Look up into the smoke chamber with a flashlight and mirror if you can do so safely, but don’t climb or reach into the flue; that’s a camera job.
This is also the right time to schedule your chimney sweep. Booking in late spring or early summer means your sweep is on the calendar before the fall rush, and any repair the technician finds has time to be completed before you need the fireplace again. One call covers the sweep and the inspection, and if something needs fixing, we handle the repair in-house rather than sending you to a separate contractor.
Summer is also the right time for dryer vent cleaning. The dryer vent is a leading appliance-related house fire cause, and it’s easy to forget because it has nothing to do with the fireplace. It does share the same fire-safety logic: lint accumulates, airflow drops, heat builds. Cleaning it once a year is cheap insurance, and summer is when it fits your calendar. We carry Gelco and Famco ventilation components for the vent work, the same professional tier we use on the chimney side.
Post-Summer Inspection: The One Date That Matters
If you do only one thing from this entire guide, do this: get a professional inspection and sweep done in late summer, before the first burn. That’s the single most valuable date on the Wichita Falls chimney calendar. Everything else on this checklist supports it.
Why late summer? Because the chimney has just spent four months in the worst of the North Texas heat, and heat is hard on masonry. The crown expands and contracts. Mortar joints open and close. A hairline crack in June can be a real opening by September. If your inspection happens before that summer stress, you’re inspecting last year’s chimney. If it happens after, you’re inspecting the one you’re about to use. The second is what you want.
A proper inspection involves more than a look from the ground and a flashlight up the flue. It involves a camera run the length of the liner, a check of the smoke chamber and damper, and a look at the crown and cap. The technician should show you what the camera sees and explain what it means, not just hand you a bill. At Lionheart, we consider the camera inspection and photo report a core part of the service, not an add-on.
What the inspection typically finds in a Wichita Falls home depends on the chimney’s age and fuel type. Wood-burning flues accumulate creosote; gas inserts produce less but can still show moisture issues; older clay-tile liners frequently show cracking at the joints. None of these are emergencies in August. All of them are easier to fix in September than in January. The purpose of the post-summer inspection is simple: to make sure nothing about your chimney surprises you mid-winter.
One word on the cost side, since it comes up: chimney work is priced per job by written estimate, and the estimate is free. We don’t publish a flat number because the range of chimney conditions in Wichita Falls is genuinely wide. A lightly used flue and a neglected one are different jobs. The written estimate sets the final price, and you’ll see it before any work begins.
Masonry Joints and the Crown: Where North Texas Chimneys Fail First
If you want to know where a Wichita Falls chimney is most likely to fail first, look at the top. The crown and the uppermost masonry joints take the most sun, the most wind, and the most water, and they wear before anything else on the structure. This is the part of the checklist where a little knowledge pays off.
Start with the crown. The crown is the concrete cap at the very top, sloped to shed water away from the flue. It should overhang the masonry slightly and have no cracks you can see from the ground. A crown with a visible crack or a crown that’s pulled away from the flue is the beginning of a water problem. Water gets in, freezes on a cold night, expands, and widens the crack. The cycle repeats. Left alone, a failing crown can lead to water staining inside the firebox and damage to the liner below.
Below the crown, look at the mortar joints in the upper courses of brick. These are the horizontal lines of mortar between the bricks. What you want to see is intact, slightly recessed joints. What you don’t want to see:
- Crumbling or sandy mortar you can brush away with a finger.
- Efflorescence, the white powdery bloom on brick that indicates moisture moving through the masonry.
- Rust stains below the cap, often a sign that the cap or chase cover is failing.
- Visible gaps where a joint has opened more than a hairline.
If any of these are present, the fix is not a homeowner job. Repointing mortar and repairing a crown are skilled masonry work, and doing them wrong makes the problem worse. We address crown and joint repairs as part of our chimney repair work, and we use HeatShield resurfacing where the flue itself needs attention, which is a different repair from the crown but often shows up in the same inspection report.
In our experience, upper-masonry problems in Wichita Falls are common precisely because the chimney sits in full sun and open wind. The top of the chimney is the least protected part of the structure and the part most homeowners never see. Binoculars from the ground are enough to spot a problem. The repair is the part you delegate.
The Damper Test Any Homeowner Can Run
Your damper is a metal plate above the firebox that opens and closes the flue. It’s the one component of your chimney you can test yourself, safely, and it tells you more than most homeowners realize. A damper that sticks, doesn’t seal, or doesn’t open fully is a draft and safety issue, and you can find it before the first fire.
Run this test on a cool day when the fireplace is cold and nothing has burned in at least 24 hours:
- Open the firebox and locate the damper handle, usually at the top of the firebox inside or just above it.
- Open the damper fully. It should move smoothly with light hand pressure. Note any grinding, scraping, or resistance.
- Look up. With a flashlight, confirm the plate is fully open and the passage above is unobstructed.
- Close the damper. It should seat flat with no gap. A damper that won’t close fully lets room air escape up the flue year-round.
- Test the smoke draw. With the damper open, hold a lit match or a piece of incense near the open firebox. The smoke should rise up the flue, not drift into the room.
What the results mean:
- Smooth movement and strong upward draw: damper and flue are functioning. Note it in your log.
- Resistance or rubbing: the damper mechanism needs attention. Don’t force it; you can bend the plate or break the pivot.
- Smoke drifting into the room: the flue is blocked, the chimney is cold, or there’s a pressure problem in the house. Any of those is a call-us situation, not a “try again later” situation.
- Damper won’t seat closed: a warped or rusted plate. It’ll cost you heat and let cold air in.
One caveat that matters: on a very cold day, a chimney can be slow to draw until the flue warms up. If smoke drifts into the room on a cold day and the chimney has been cold for a while, that alone isn’t necessarily a problem. But if the same thing happens on a mild day, or after the fire has been burning a few minutes, that’s real. Get it looked at before you burn regularly.
What You Can Safely Check vs. What Requires a Camera
Some of this checklist is yours to do. Some of it is not. The line between the two is clearer than most homeowners assume, and knowing where it sits keeps you safe and saves you money.
Safe for you to check:
- Exterior visual inspection of crown, cap, and upper masonry from the ground with binoculars.
- Firebox and firebrick condition, with a flashlight.
- Damper operation and smoke draw, as described above.
- Visible creosote accumulation in the firebox and smoke chamber.
- Exterior termination and cap security from the ground.
Requires a trained technician with a camera:
- The full length of the flue and liner. A crack inside the liner is invisible from the firebox, and it’s the single most important safety finding in a chimney inspection.
- The smoke chamber above the damper. Difficult to see and easy to misjudge.
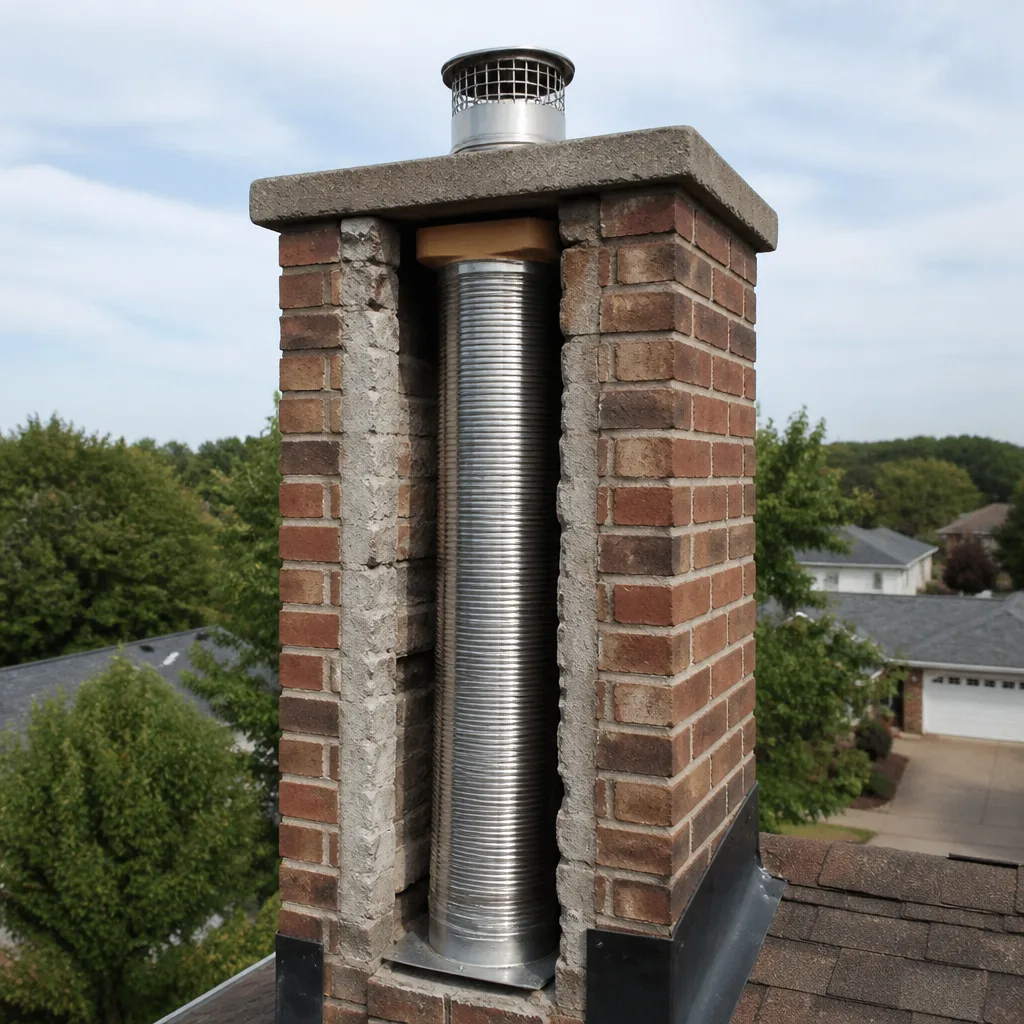
- Whether the liner is a sound clay tile or a deteriorated one that needs relining. This is a judgment call, and it needs a camera.
- Creosote depth at the top of the flue, which determines whether a sweep is needed now or can wait.
- Anything involving the roof, the crown, or a ladder. Height work is not a homeowner job in any weather.
Two hard rules. First: never climb onto your roof to inspect or clean the chimney. Roof work is a leading cause of homeowner injury, and a chimney cap is not a handhold. Second: never clean or inspect the inside of the flue yourself. Creosote is corrosive and a respiratory irritant, and the brush-and-rod method on a tall flue is a two-person job with the right equipment. Strong safety caveat: do not attempt to remove creosote or reach into the flue. Call a trained professional.
We get asked which findings require a pro before the next fire. Here’s the short list: any crack or gap in the liner, any sign of a damaged crown letting water in, any smoke drifting into the room from a cold chimney on a mild day, a damper that won’t open fully, and visible creosote buildup beyond a light dusting. When you call Lionheart Chimney Sweep, the camera inspection and photo report come as part of the service, so you see exactly what the technician sees and can verify the recommendation yourself.
The Dryer Vent Belongs on This Checklist
A chimney maintenance checklist that excludes the dryer vent is incomplete. The dryer vent is a fire-safety system in the same house, with the same failure mode as the flue: buildup of combustible material, restricted airflow, and heat that has nowhere to go. Lint is the fuel. A clogged vent is the ignition path.
Most chimney-only companies don’t touch the dryer vent, which is why the routine gets skipped. We do, because a homeowner who’s already thinking about chimney safety should be thinking about the other vent in the house at the same time. One call covers your chimney and your dryer vent, and the same technician tier handles both.
The dryer vent checklist, once a year:
- Disconnect the dryer from the wall and inspect the duct behind it for lint buildup and crimped sections.
- Check the exterior termination for the flapper and screen. A stuck flapper or lint-clogged screen is a common bottleneck.
- Note drying times. If your dryer has started taking noticeably longer to finish a load, that’s a signal.
- Look for heat and moisture around the dryer and the exterior vent.
- Schedule professional cleaning once a year, or more often if you dry heavy loads or have a long duct run.
We stock Gelco and Famco ventilation components for dryer vent work, so if the duct itself is damaged or the termination is failing, we can replace those parts during the cleaning visit rather than booking a second trip.
Building a Service Log That Protects You
A service log is the cheapest insurance you’ll ever buy for your chimney. It’s a simple record of every sweep, inspection, repair, and cleaning, with dates and what was found. Two things make it valuable: it tells the next technician what’s already been done, and it tells a buyer or an insurance adjuster that you maintained the system.
You don’t need a software app. A notebook in the drawer next to the fireplace works. What goes in it:
- Date of every service visit and what was done.
- The technician’s findings in their words, including anything flagged for future attention.
- Photos and the inspection report, filed with the entry.
- Repairs performed, with the product used (for example, DuraFlex liner or HeatShield resurfacing).
- Dryer vent cleaning dates, kept in the same log.
- Any issue you noticed between visits, such as smoke spill or a new odor.
Why it matters for insurance and sales: when a chimney fire or a carbon monoxide alarm triggers a claim, the first question is whether the system was maintained. The same applies at sale. A buyer’s inspector will ask for maintenance records, and a homeowner who can produce a clean log clears that hurdle in one conversation. A homeowner who can’t may end up paying for an inspection and a sweep as a condition of closing, on the buyer’s timeline rather than their own.
One habit worth adopting: after every service visit, write the date and the finding in your log before you put the file away. That’s the whole system. It takes two minutes, and it compounds over years. Wichita Falls homeowners who keep a log end up with a clear picture of their chimney’s history and a paper trail that speaks for itself.
Common Mistakes to Avoid
- Waiting for a symptom before scheduling. A blocked or cracked flue doesn’t warn you before it becomes dangerous. The annual inspection exists to find what you can’t see, and it works best before the first fire, not after something goes wrong.
- Inspecting from the roof. Roof work is the most dangerous part of this checklist, and the view from the top doesn’t tell you more than a camera run from below. Stay on the ground.
- Burning unseasoned wood to “get through” a cold snap. Green or damp wood produces more creosote, and creosote is the fuel in a chimney fire. Seasoned hardwood burns cleaner and is easier on the flue.
- Treating a light-use season as a pass on annual service. North Texas winters are mild, and a lightly used flue can still have cracked tile and accumulated creosote. The annual inspection is about condition, not volume.
- Skipping the dryer vent. A chimney sweep visit that doesn’t include the dryer vent leaves the other fire-safety system in the house unchecked. One call should cover both.
- Assuming the fireplace is fine because the firebox looks clean. The firebox is the easy part to see. The liner above it is where the real findings are, and it takes a camera to look.
- Letting a repair flagged in August wait until November. Repairs scheduled in late summer have room in the calendar. Repairs flagged after the first cold snap are on a different timetable entirely.
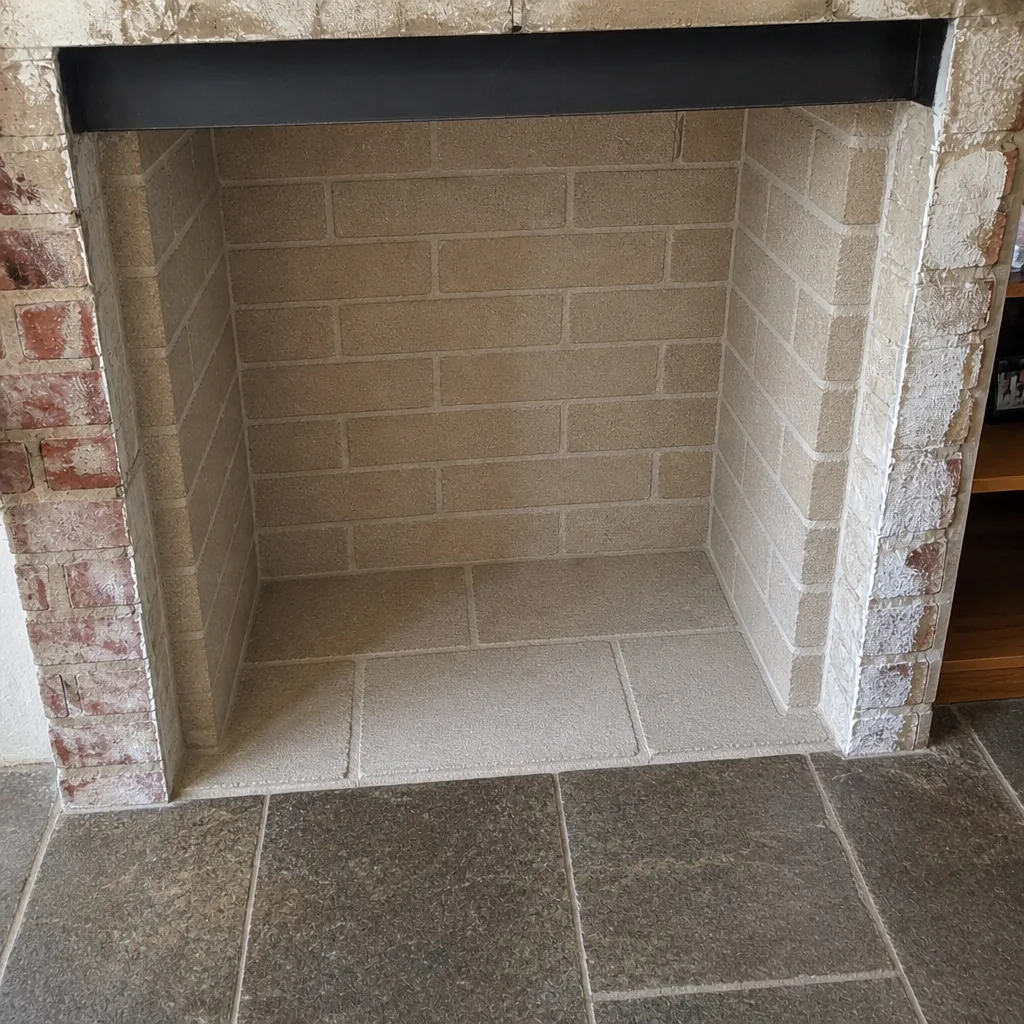
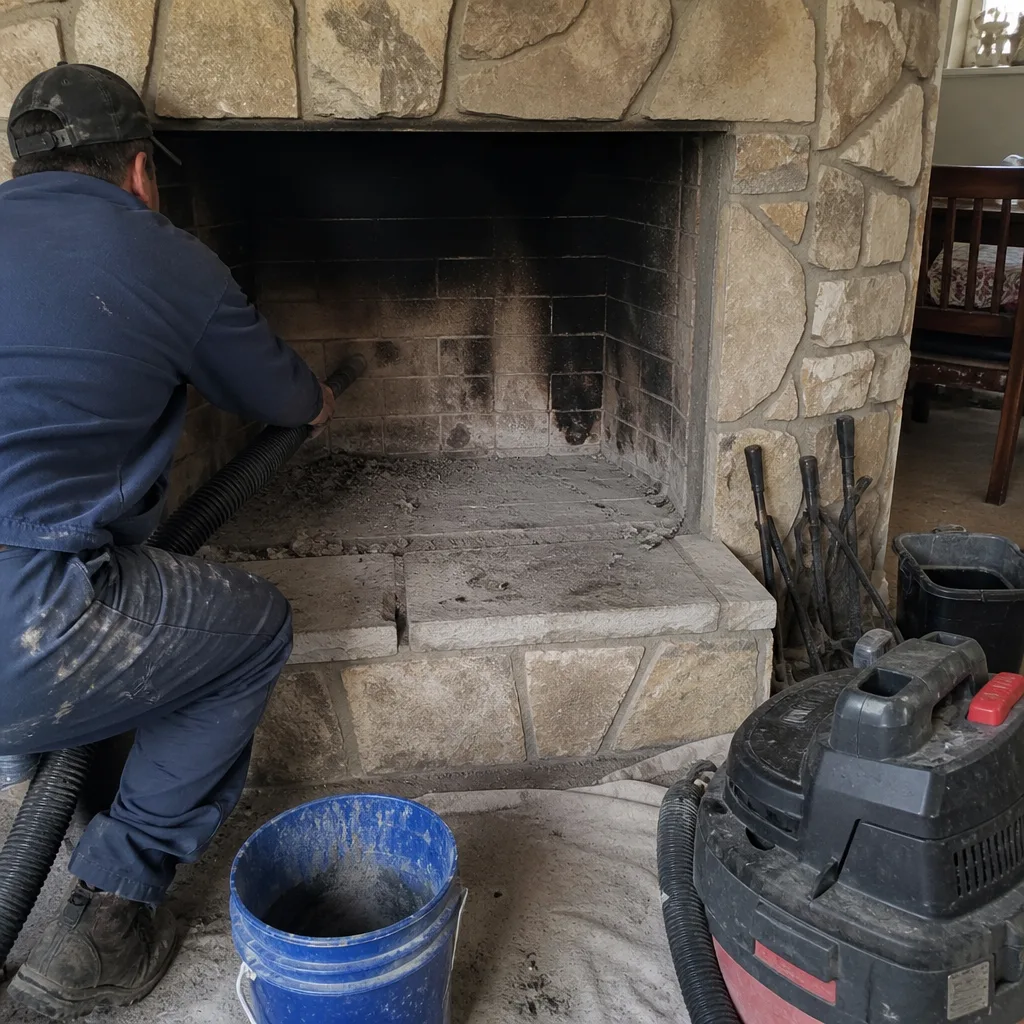
See the difference
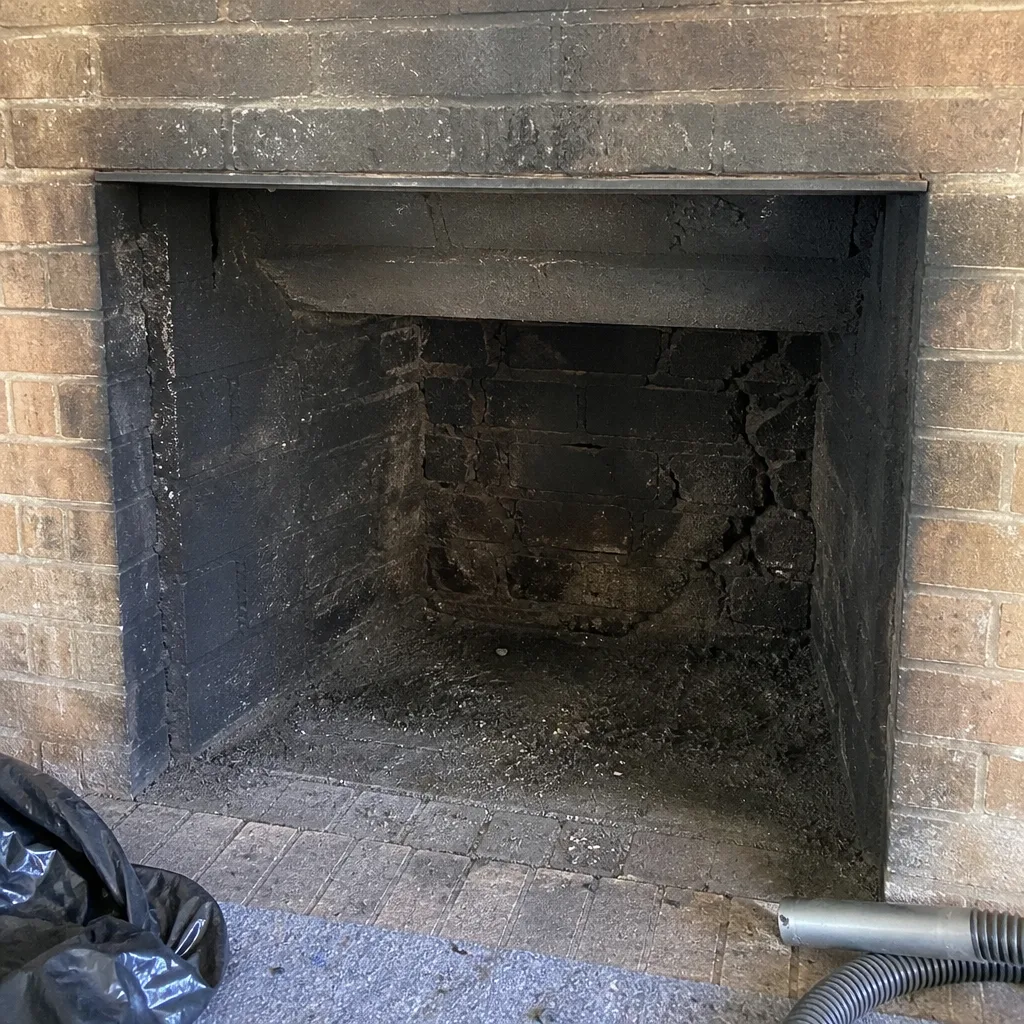 Before
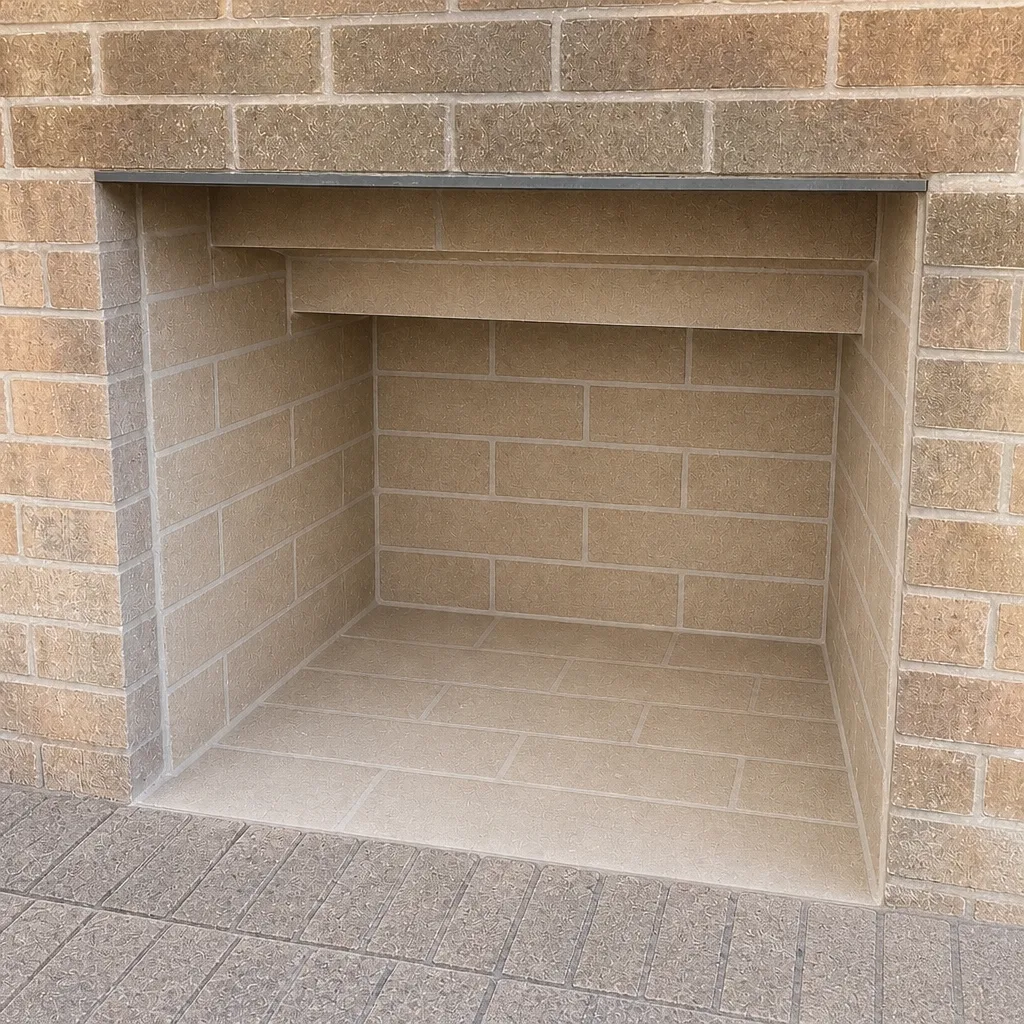 After
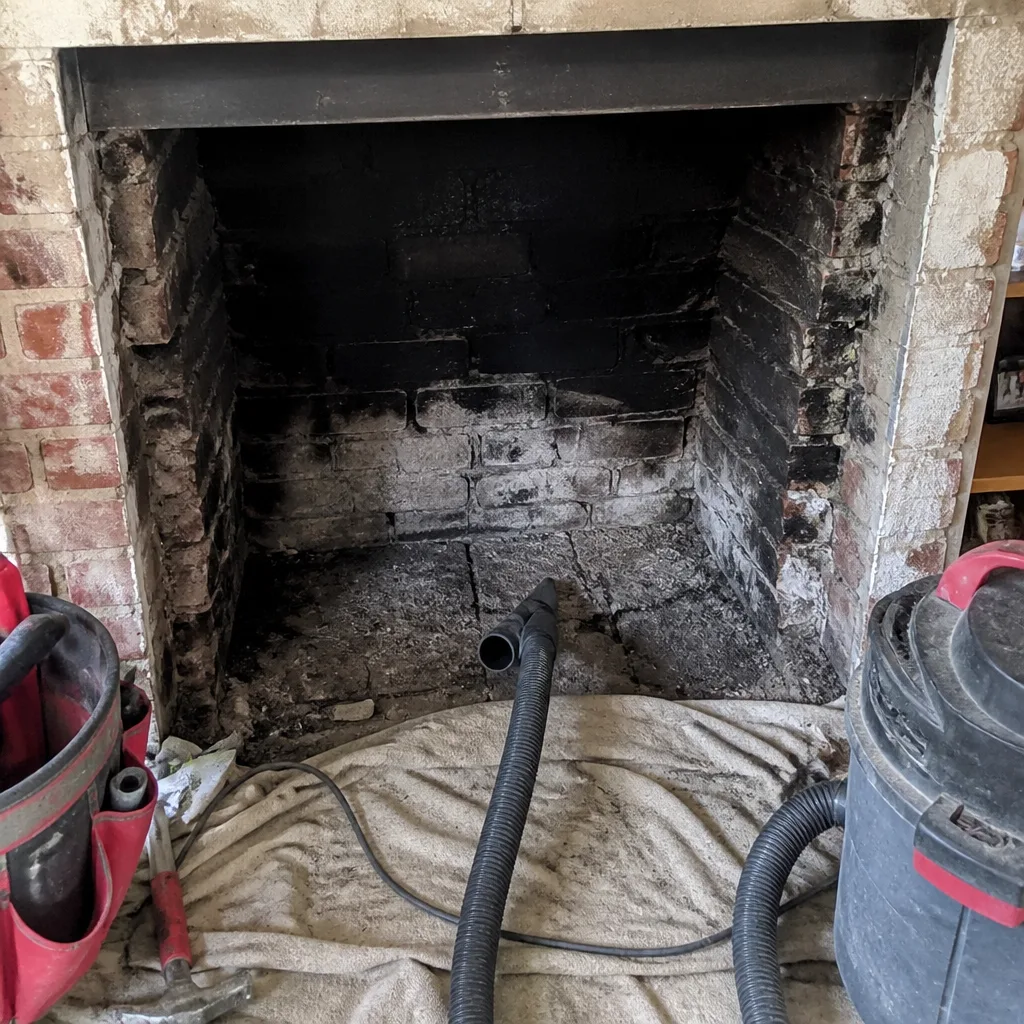 Before
 After
 Before
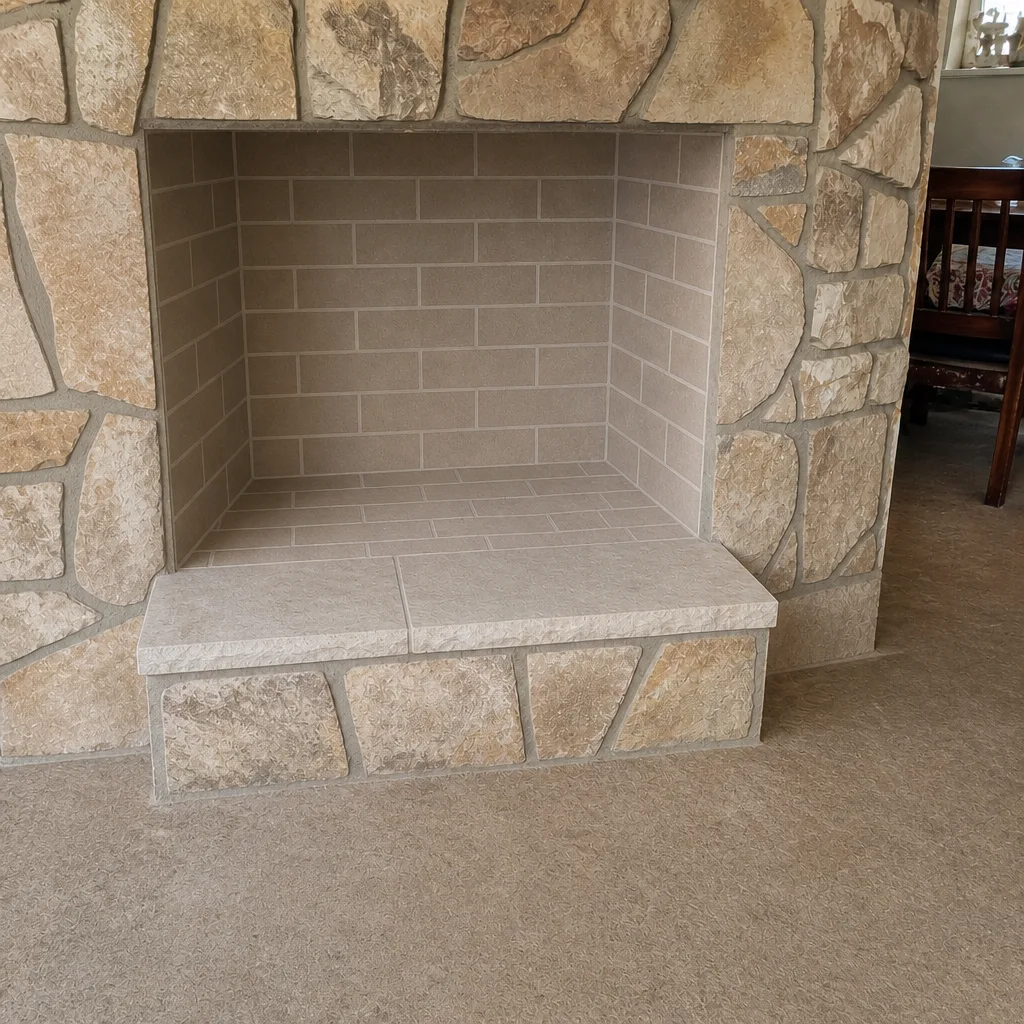 After
When to Call a Professional
Call a professional when any of these show up: a crack or visible gap in the flue liner, smoke drifting into the room from a cold chimney on a mild day, a damper that won’t open fully or won’t seat closed, visible creosote beyond a light dusting, a crown you can see is cracked from the ground, water staining in the firebox, or any change in your chimney since last season that you can’t explain. Also call if it’s been more than a year since the last sweep, or if you’ve moved into a home and don’t know when the chimney was last serviced. Lionheart Chimney Sweep offers free estimates in Wichita Falls, and the estimate is set per job by written estimate, so you know the price before work starts. Call (855) 705-9859. We answer 24/7. Fast dispatch from 7am to 7pm, Sunday through Friday. We’re closed on Saturday.
Frequently Asked Questions
Once a year is the standard, ideally in late summer before the first burn. Homes that burn heavily or burn unseasoned wood may need it more often. The annual sweep is also when the camera inspection happens, and that inspection is what confirms the liner is sound. Call (855) 705-9859 for an exact quote; estimates are free.
You can safely check the firebox, damper, crown, and cap from the ground, and that’s genuinely useful. What you can’t safely check is the full length of the flue liner, the smoke chamber, and the creosote depth at the top of the flue. Never climb on the roof or reach into the flue. Call (855) 705-9859 to book a camera inspection; estimates are free.
A camera inspection includes a look at the firebox, damper, smoke chamber, the full length of the liner, the crown and cap, and the exterior termination, plus a photo report so you can see what the technician sees. That’s the baseline for Lionheart work. Call (855) 705-9859 and we’ll walk you through what your chimney needs; estimates are free.
Not necessarily, and that’s the finding we’re most careful with. A liner is replaced only when the camera shows it’s deteriorated, cracked, or unsafe, and you see the camera evidence before any recommendation. When relining is needed, we install DuraFlex stainless flexible liner systems, a professional-tier product, not a hardware-store alternative. Call (855) 705-9859 to book an inspection; estimates are free.
Creosote builds up, and creosote is the fuel in a chimney fire. Beyond that, small liner defects go unfound, and what would have been a repair can become a reline. The cost of skipping isn’t always a fire; sometimes it’s a larger repair bill years later. Call (855) 705-9859 for an inspection; estimates are free.
Yes. One call covers your chimney and your dryer vent, and both are performed by the same trained technicians. The dryer vent is a leading appliance-related house fire cause, and it’s easy to forget because it doesn’t involve the fireplace. Call (855) 705-9859 to schedule both; estimates are free.
The Bottom Line
The Wichita Falls chimney checklist boils down to four habits: schedule a sweep and camera inspection in late summer, before the first burn; do your own ground-level visual check of the crown, cap, and masonry every few months; test the damper before the season starts; and keep the dryer vent on the same annual schedule as the chimney. Everything else in this guide supports those four habits. Do them and your flue system won’t surprise you mid-winter. Skip them and you’re relying on symptoms to tell you something’s wrong, which is the slowest and most expensive way to find out. For a free estimate in Wichita Falls, call Lionheart Chimney Sweep at (855) 705-9859. We repair what we find, and we show you the evidence before we recommend a repair.
Written by the team at Lionheart Chimney Sweep.